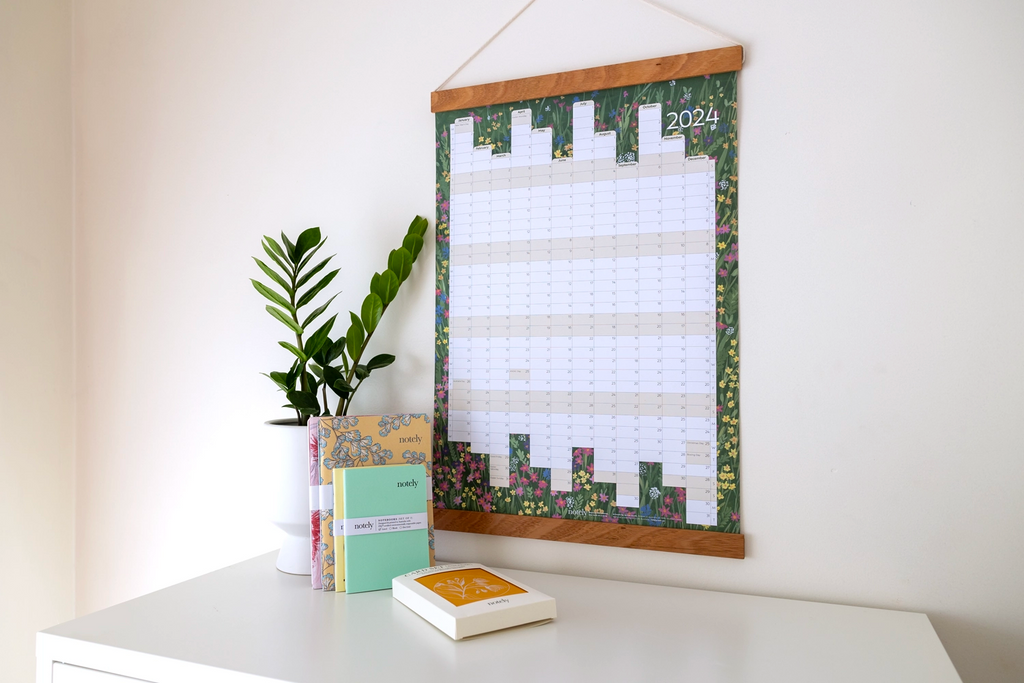
There's 2 ways to use your frame…
- Hidden or Seamless: Hang from the 'keyhole' slot in the top timber bar onto a screw/nail/hook (not supplied) in your wall.
- Cotton Cord: Love the cotton cord triangle look? Add it on and hang from, well, anything!

See instructions below for how to setup and hang your wall planner…
- Remove the cotton cords from the timber bars.
- Place the timber bars onto a table, front sides down (logo facing you).
- Slide the top edge of your wall planner into the top timber bar. Make sure it goes all the way into the slot.
- Press the cotton cord into the slot using your fingers. Make sure you push it in nice and deep. (You can use a credit card instead of your fingers).
- Repeat this with the bottom bar/bottom edge of your wall planner.
- Hang your wall planner on the wall and start planning your year!
Hanging method: hidden/seamless
The top bar of the frame has a 'keyhole slot' in the back. Hang your frame onto a screw, nail or hook (not supplied with the frame.)
‘I rent, I have no hooks!’ no problem, removable velcro strips are a-ok!
Hanging method: cord loop
If you like the look of the exposed triangular cord you can add-on a 'cord loop'.
Replace the top cord with the 'cord loop'. Then, hang your wall planner frame from, well, anything!
Designed and crafted in Brisbane, Australia and made from premium, sustainable timber and 100% cotton cord.
We'd love to see your wall planners hung in your home! Make sure you tag us on Instagram, Facebook or Tiktok — find us @theNotely


